This guide walks you through adding the Skippership tracking code to your Joomla site so you can start capturing real user sessions and insights.
Copy your tracking code
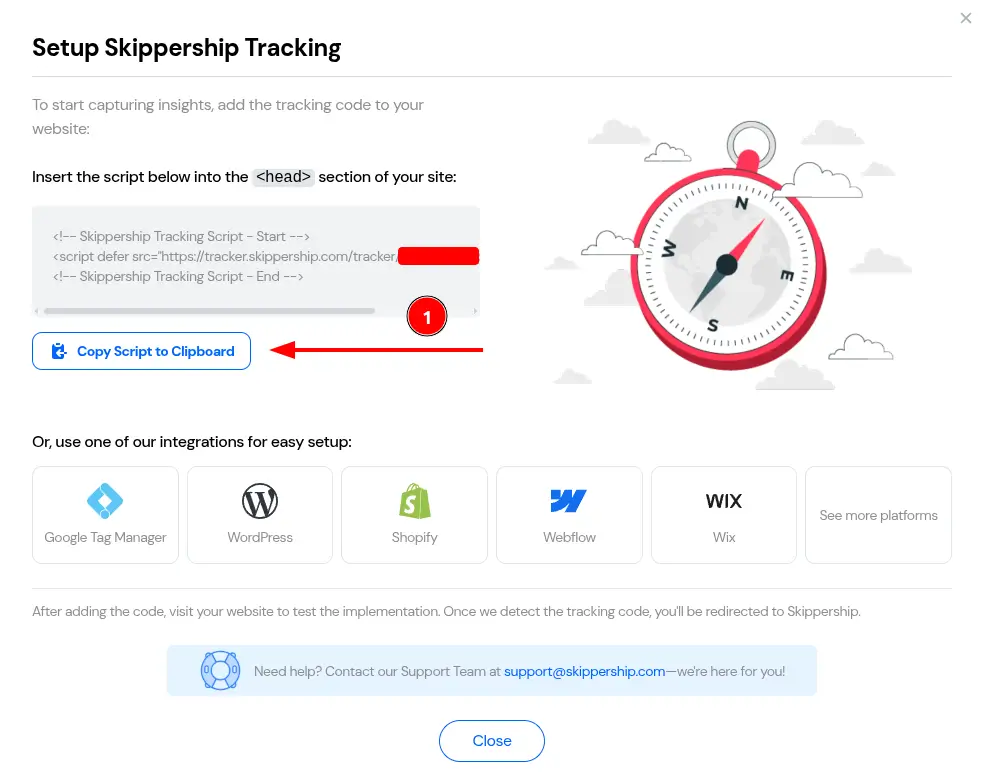
Go to your Skippership Dashboard and copy your tracking code from Website setting by clicking the gear icon:
![]()
<!-- Skippership Tracking Script - Start -->
<script defer src="https://tracker.skippership.com/tracker/YOUR_TRACKER_ID"></script>
<!-- Skippership Tracking Script - End -->
Important: Replace YOUR_TRACKER_ID with your actual tracker ID from your Skippership dashboard.
Open Templates in Joomla
In your Joomla admin, go to Extensions > Templates > Templates to view your site templates.
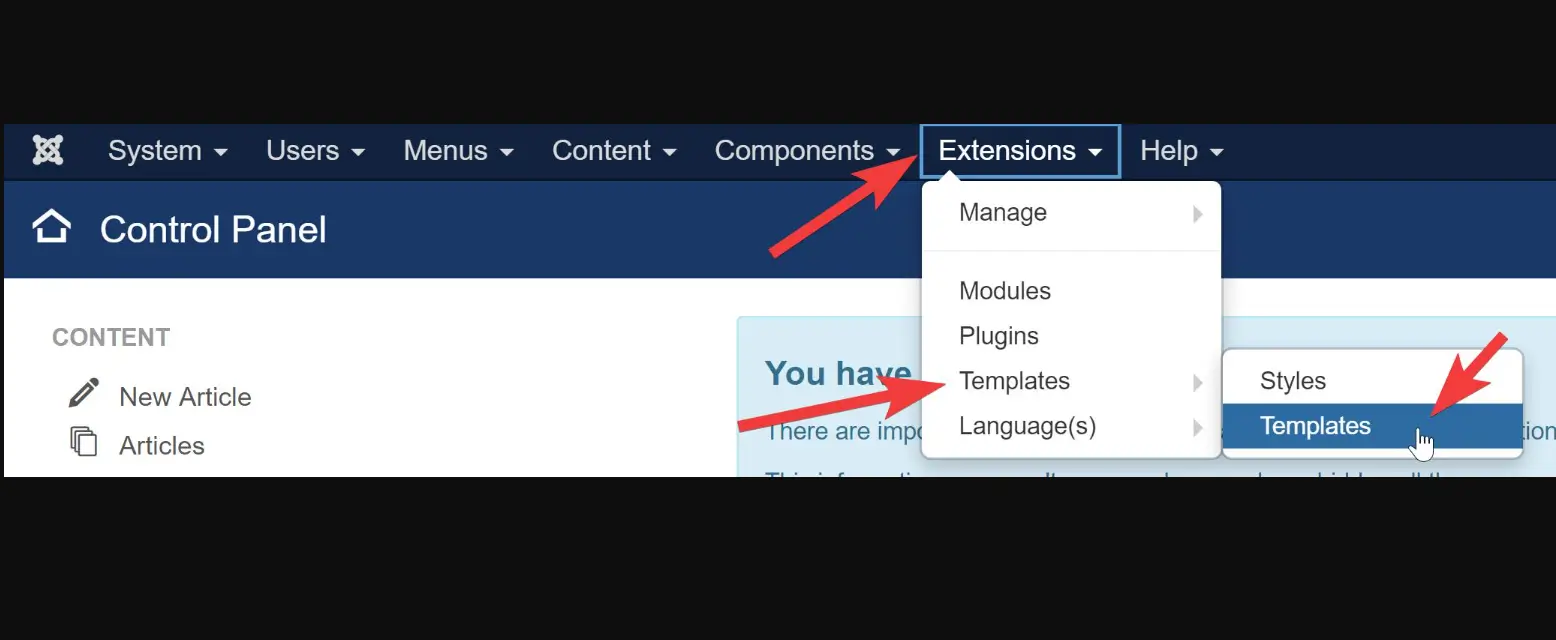
Click the template your site is using to open its files.
Find the file that outputs the head tag
Open the PHP file that renders the <head> element on all pages. In many default themes this is index.php, but it may differ on your site.
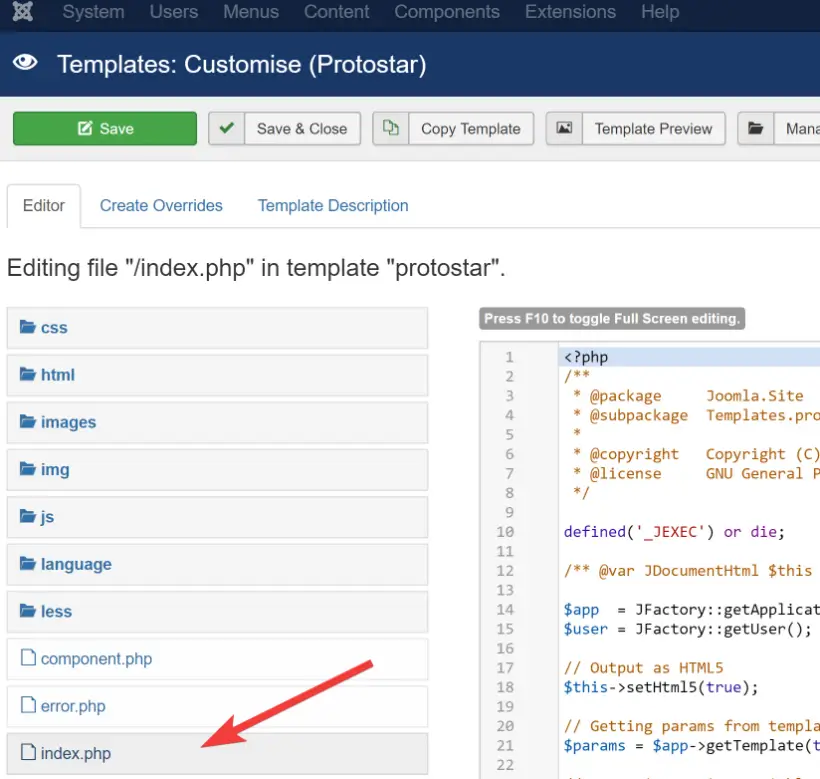
If in doubt, consult your template’s documentation or contact its creator.
Paste the script before the closing head tag
Insert your Skippership code directly above the closing </head> tag.

<!-- Skippership Tracking Script - Start -->
<script defer src="https://tracker.skippership.com/tracker/YOUR_TRACKER_ID"></script>
<!-- Skippership Tracking Script - End -->
Save the file after pasting the code.
Save & Close the template editor
Click Save & Close to apply your changes.
Verify the installation
Return to your Skippership Dashboard, open Session Replay, and visit your site. If everything is set up correctly, you’ll see initial sessions within a few minutes. You can also confirm the script is loading via browser DevTools (F12) → Network.
Privacy note
Privacy and Security:
Skippership is built with privacy in mind. We do not capture sensitive data such as passwords, payment details, or personally identifiable information. Session data is anonymized and used only to improve your site experience.